
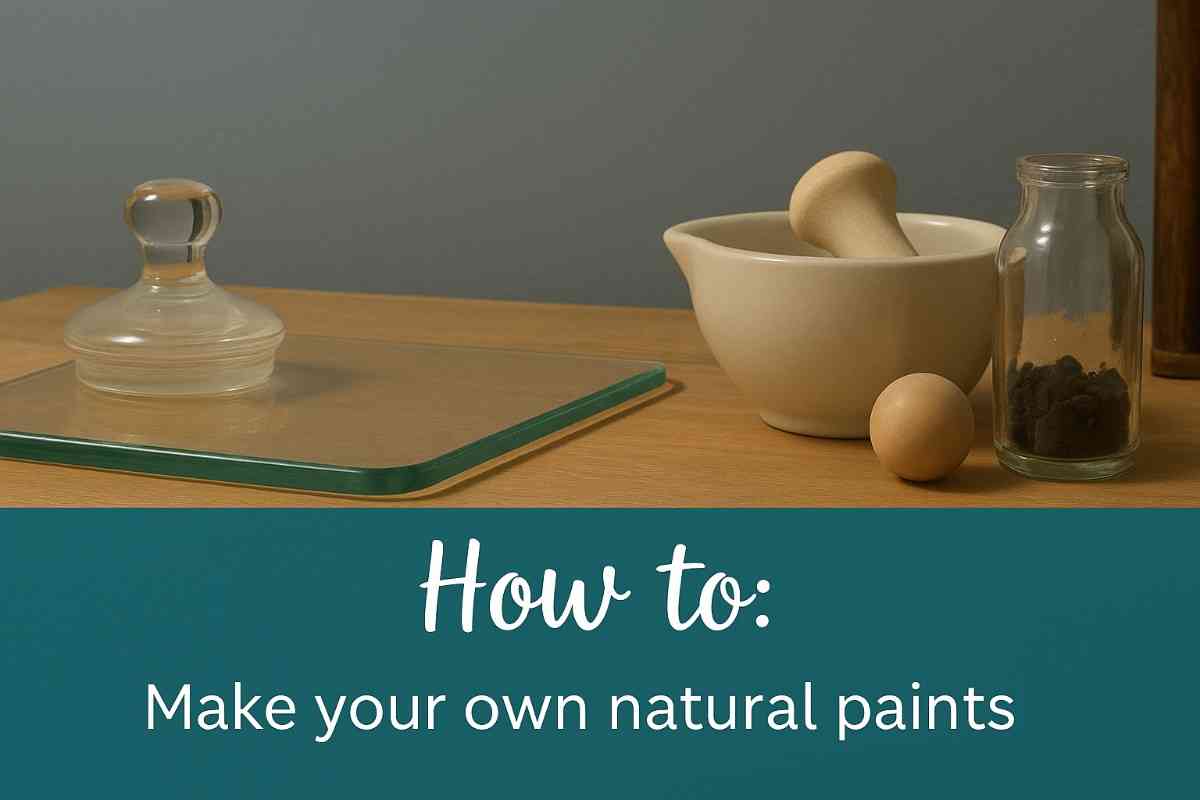
When I first started making my own natural paints, I was amazed by how rewarding and sustainable the process felt. Unlike store-bought paints that rely on synthetic pigments, petroleum-based binders, and chemicals that can be harmful to both artists and the planet, crafting paint from natural materials—like clay, plants, and earth—lets you discover beautiful, vibrant colors that come directly from nature. This hands-on art practice not only connects you with the environment but also helps minimize environmental impact and reduce waste, turning creativity into an act of care for the world around you.
Through experience, I’ve learned that when your creative process aligns with sustainable values, it transforms the way you view art itself. Every brushstroke becomes a small step toward balance—between expression and responsibility. This guide will walk you through everything you need to know to start making your own natural paints, helping you reconnect with traditional techniques that honor both creativity and conservation.
Why Choose Natural Paints?
Choosing to make your own natural paints is more than just an artistic choice—it’s an eco-friendly lifestyle decision. When I switched from store-bought paints, I noticed how much cleaner and safer my workspace became. These paints are biodegradable, reducing pollution and keeping harmful substances out of the air and water. Unlike conventional brands filled with heavy metals and volatile organic compounds (VOCs) that can be harmful when inhaled, natural alternatives are non-toxic and safe for both artists and the environment. Many of the pigments I use come straight from my kitchen, garden, or local surroundings, making the process surprisingly cost-effective—sometimes even free when you source wisely.
Beyond practicality, there’s something uniquely beautiful about the rich, organic aesthetic that comes from creating your own natural paints. Synthetic colors often lack the warmth and life that come from working with earth and plants. The process of gathering and preparing your own materials builds a stronger connection to nature, allowing a deeper appreciation of the natural world. Each stroke on canvas becomes a reflection of creativity grounded in sustainability and mindfulness.
Sourcing Natural Pigments
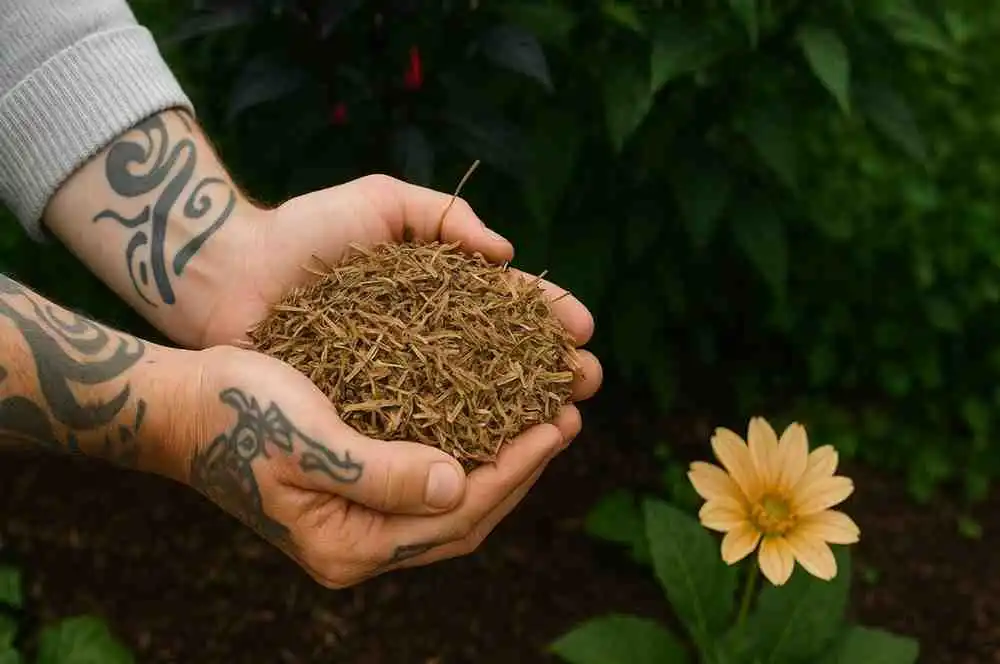
Finding natural pigments is one of the most exciting parts of creating your own natural paints. Over time, I’ve learned to experiment with a range of sources—from plants and minerals to tiny insects that produce stunning hues. Each color tells a story: reds and pinks can be made from beetroot, madder root, hibiscus, or even avocado pits, while yellows and oranges often come alive with turmeric, onion skins, saffron, or dandelion flowers. What I love most about this process is how it turns everyday materials into something magical.
The cooler tones are equally fascinating. I’ve achieved rich blues and purples from red cabbage, blueberries, and elderberries, while greens burst from spinach, nettles, and wheatgrass. To balance tones, I use earthy browns and blacks made with coffee grounds, walnut husks, and charcoal—and for lighter shades, whites from chalk, eggshells, or kaolin clay work beautifully. Whether you’re experimenting for the first time or refining your palette, creating your own natural paints lets you explore an endless spectrum of inspiration right at your fingertips.
Extracting Pigments
When working with natural materials to create paint, learning how to extract the pigments is the key step that brings color to life. Through years of experimenting, I’ve realized that the process truly varies—each material demands a slightly different approach. For example, leafy greens release their tones easily with a little water and grinding, while roots or minerals might need soaking or gentle heat to release deeper shades. Patience is essential here; understanding the rhythm of each ingredient helps preserve its natural richness and texture, forming the foundation for making your own natural paints.
The magic lies in observation. Every batch of your own natural paints reacts uniquely depending on how it’s handled—the temperature, pressure, and timing all play a role in how the pigments emerge. This intimate process transforms ordinary natural materials into something extraordinary, allowing you to form a connection with your craft and the earth that supplies it. Once you’ve mastered this balance, you’ll find that every color in your own natural paints tells the story of its source, shaped by your hands and creativity.
Grinding Minerals and Earth Pigments
Working with clay, charcoal, and other mineral-based pigments is a foundational step in creating truly vibrant colors for your own natural paints. The key is to carefully crush your material using a mortar and pestle or a hammer, then sift the powder through a fine mesh to remove large particles. Once you’ve achieved a uniform texture, you can mix it with water to form a smooth paste ready for painting. This hands-on process allows you to feel the transformation of raw material into rich, earthy tones while connecting deeply with your craft and the natural art of making your own paints.
A crucial safety tip is to always wear a mask when working with powdered pigments. Even though natural pigments are less toxic than synthetic alternatives, inhaling fine particles can still be harmful. Non-toxic materials like chalk, clay, and plant-based powders may irritate the respiratory system or accumulate in the lungs over time, potentially causing health issues. Always work in a well-ventilated area and use a dust mask when handling dry pigments to ensure safety while enjoying the tactile joy of creating your own natural paints.
Boiling Plant-Based Pigments
Turning fruits, flowers, and vegetables into vibrant boiled pigments begins by chopping the material into small pieces. Next, simmer them in water for 30–60 minutes, then strain out the solids and reduce the liquid to intensify the color. I’ve found that carefully monitoring the heat allows the boiling plant materials to release their full spectrum of hues without losing vibrancy. Once the extract is ready, you can strain and dry it to form a pigment-rich paste—an essential step in making your own natural paints. Spread it on a glass or non-porous surface to air-dry in a well-ventilated area, or use a dehydrator at a low temperature for faster results.
Once fully dried, break up the residue and scrape it into smaller chunks. Then, grind the dried pigment using a mortar and pestle, spice grinder, or fine sieve to crush it into a fine powder. To store properly, keep the powdered pigment in airtight containers away from moisture and light to preserve the color. This careful approach ensures that every batch of your own natural paints retains its intensity, making your creations truly vibrant and long-lasting.
Extracting Stubborn Pigments with Alcohol or Vinegar
Some stubborn plant pigments, like chlorophyll, need a little extra care to release their full color. I often soak leaves or petals in isopropyl alcohol or vinegar for several hours, allowing the natural hues to slowly seep out. The process is surprisingly simple, yet it brings out a vibrant liquid full of concentrated pigment—perfect for enriching your own natural paints. This technique is especially useful when you want to capture the delicate greens and deep tones that don’t easily appear with water alone.
Once the extraction is complete, strain the liquid carefully to separate the plant material from the colored solution. You can then use this pigment directly in your mixtures to create unique shades for your own natural paints. Over time, I’ve found that combining this method with other extraction techniques helps achieve more consistent and lively colors, giving every artwork a deeper connection to the plants themselves.
Preparing Your Paint
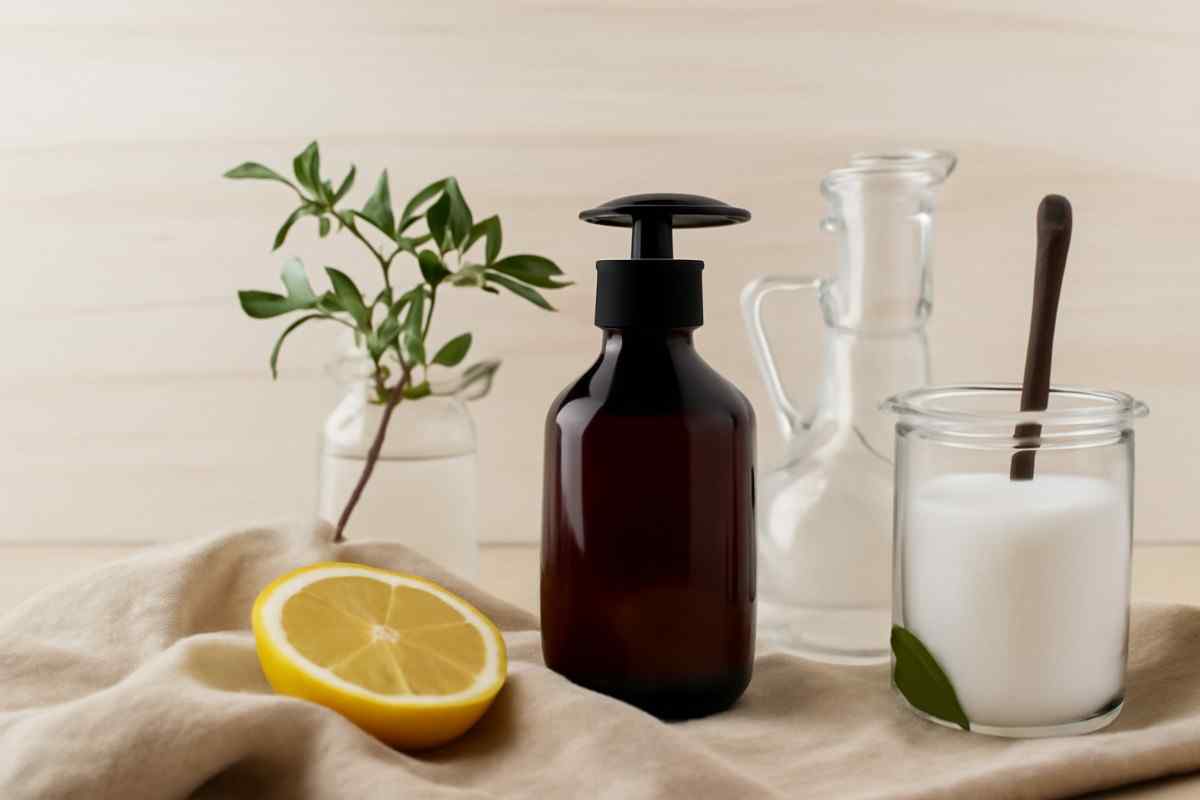
After extracting your pigments, the next step in making your own natural paints is combining them with a binder. The binder helps the pigments adhere to a surface and improves longevity, ensuring your colors last over time. There are different types of paints, and each requires specific binders depending on the desired effect. For watercolors, the ingredients are simple: 1 tsp natural pigment, 1 tsp gum arabic—a natural tree resin—and a few drops of honey for smoothness, along with water as needed.
To create the paint, mix the pigment with a small amount of water to form a paste, then add the gum arabic and honey, stirring until smooth. You can then store it in small containers or let it dry in a palette to rehydrate when needed. Over time, this method allows you to adjust the consistency and brightness, giving your own natural paints a vibrant, long-lasting quality that feels uniquely handcrafted.
Creating Acrylic-Like Paints
For a smooth, acrylic-like effect using natural ingredients, start with simple components: 1 tsp natural pigment, 1 tsp egg yolk, and a plant-based oil such as linseed or walnut oil, plus a few drops of water. To prepare, blend the pigment thoroughly with the egg yolk and oil, then add a few drops of water to reach the desired consistency. This technique gives your own natural paints a creamy texture that applies easily and mimics the richness of commercial acrylics—without the synthetic additives.
It’s important to use these paints immediately, as egg-based paints can spoil quickly. Working with this method taught me how delicate the balance between moisture and pigment can be, and adjusting the water carefully ensures the paint flows smoothly without losing its intensity. With practice, this approach creates versatile, vibrant colors that hold well on surfaces—perfect for expanding your collection of own natural paints while keeping your process entirely natural.
Crafting Oil Paints
To make rich oil paints with a natural touch, gather your ingredients: 1 tsp natural pigment, 1 tsp linseed or walnut oil, a glass palette, and a muller for mixing. Begin by placing the pigment on a glass surface, then add a small amount of oil. Use the muller to blend the pigment and oil together until it forms a smooth texture. This process may take patience, but it lets you create professional-quality results while keeping your own natural paints completely pure and chemical-free.
Once the paint reaches the desired texture, store it in an airtight container to maintain its quality and prevent drying out. Through experience, I’ve learned that the balance between pigment and oil is crucial: too much oil can make it runny, while too little can make it stiff. Mastering this technique gives you full control over your own natural paints, producing vibrant, long-lasting colors that are perfect for detailed and layered artwork.
Crafting Natural Printmaking Ink
Creating your own natural paints can go beyond brushes and canvases—making your own natural printmaking ink is a rewarding way to expand your artistic toolkit. Begin by gathering the ingredients: 1 tsp natural pigment, 1 tsp linseed or walnut oil, a small amount of beeswax for thickness, and a few drops of clove essential oil to prevent mold. To prepare, melt the beeswax in a double boiler, then stir in the pigment until fully incorporated. Next, slowly add the linseed or walnut oil, stirring gently until the mixture is smooth, and finish by adding the clove oil for preservation.
Once ready, store your ink in an airtight container to maintain its quality and use it for various printmaking applications. I’ve found that this method allows for exceptional control over the ink’s thickness and flow, letting you create detailed and consistent prints. Working with natural ingredients not only enhances the richness of the pigment but also complements your practice of making your own natural paints, keeping your printmaking process sustainable, safe, and deeply connected to the materials you harvest and prepare yourself.
Staying Safe While Working with Natural Paints
Even though making your own natural paints is generally safer than using synthetic alternatives, taking proper precautions is essential. Always wear a mask to prevent inhaling fine pigment particles, especially when grinding minerals or sifting powders. Use gloves for skin protection, as some natural pigments—like walnut husks—can stain or irritate the skin during the handling of strong pigments. Ensure proper ventilation by working in a well-ventilated space, particularly when boiling plant materials or performing alcohol-based extractions, to stay safe while crafting your own natural paints.
It’s also important to test for allergies with plant-based pigments by applying a small amount on your skin before extensive use. Avoid contaminants by making sure foraged materials are free from pesticides, mold, or other pollutants. Use non-porous tools instead of wooden or other porous materials that can absorb pigment and introduce bacteria over time. Always label and store properly, marking pigment jars and keeping them separate from food items to prevent accidental ingestion, ensuring a safe and enjoyable experience while creating your own natural paints.
Using and Storing Your Natural Paints
When working with own natural paints, especially water-based ones, remember they contain no preservatives and can spoil quickly. To extend their life, store them in the fridge and use them within a week, or add a natural preservative such as clove oil. For pigments in powder form, you can store them longer and only process what you truly need, ensuring freshness and reducing waste.
During application, expect some variation in color as the paint dries, so it’s wise to test swatches before committing to a final piece. For layering, keep in mind that own natural paints are more transparent than synthetic paints, so build up multiple layers to achieve richer tones and depth. From personal experience, careful storage and thoughtful application allow your handmade natural paints to remain vibrant and versatile for every project.
Embracing Your Natural Paint Journey
Creating your own natural paints is a truly rewarding and eco-friendly alternative to store-bought options. Not only does it reduce waste, but it also deepens your connection with the materials you use and the world around you. Whether you are a painter, mixed-media artist, or simply enjoy experimenting, making these paints is a step toward a more sustainable and mindful art practice.
If you’re ready to try it out, I’d love to hear your comments. Pick your favorite colors, get excited, and make something beautiful. Don’t forget to share your results and celebrate the creativity of your own natural paints—it’s an experience that transforms your artwork and deepens your connection with nature.


Leave a Reply