
As the Growing Season Comes to a Close
When the growing season draws to a close, I always find myself at the beginning of the last important task—seed saving. On our farm, after we shut down rows of vegetables, the process of pulling each plant—except the perennials—begins. While it might feel heavy to see empty beds, the act of gathering seeds from plants is both exciting and inspiring. A few years ago, I even hosted an informal seed saving garden tour with about 20 people. Walking through the gardens, examining every plant, and discussing ways to practice seed saving turned into real fun. It reminded me how safe and rewarding this practice feels, especially when shared with people truly interested in seed saving.
In this post, I’ll discuss seed saving and why saved seeds matter so much. From a gardener’s eye, it’s important to note that simple seed saving techniques can make all the difference. Whether you are carefully drying tomato seeds or collecting bean pods, the lessons learned through seed saving practice and community grow deeper roots. The joy is not just in the harvest but also in knowing these small steps of seed saving will keep traditions alive, season after season.
Understanding Heirloom and Hybrid Seeds
When learning about seed saving, I often remind new gardeners that not all seeds are alike. Groups like Savers Exchanges have long explained how hybrids—created by crossing different plants or varieties—can give unpredictable offspring with mixed traits unlike the parent plant. From experience, I noticed that while these hybrid harvests may look strong at first, the saved seeds rarely produce anything identical to the parent. That’s why many growers turn to heirloom lines, which are open-pollinated and ideal for seed saving, carrying a history passed down through each generation.
The Seed Savers Exchange even sells packets clearly marked as open-pollinated or heirloom, and spotting “OP” in a seed catalog has become essential for me before I buy. Over time, I’ve seen how carefully chosen heirloom seeds will stay true, giving reliable crops year after year. On the other hand, I always avoid anything labeled “F1,” since those seeds indicate a hybrid type that doesn’t suit long-term seed saving. For beginners, trusting tested sources and paying attention to these details makes the whole practice of seed saving not only practical but deeply rewarding.
Why Saving Seeds Matters
There are many reasons gardeners choose seed saving, but for me, the first is simple—it saves money. Rising costs over time can weigh heavy, and I found that learning seed saving techniques brought real value to my garden practice. Beyond that, seed saving also helps promote genetic diversity, much like animal breeders work to preserve strong lines. Every time I’m saving seeds from a favorite crop, I know I’m keeping something alive for the future. Those generations of plants become a living legacy, which feels both practical and meaningful.
Another joy is being able to share seeds through seed saving. A simple envelope in the mail from a gardening friend with their homegrown tomato seeds reminded me how powerful seed saving can be. Passing them along to others not only builds a stronger community but also a deeper connection between growers. In turn, it helps increase independence, reducing reliance on outside sources. And let’s not forget—it’s pure fun to trade little pieces of a farm and watch them grow in new soil through the practice of seed saving.
Best Time to Save Seeds
Most seeds are best collected in the fall, when the fruit or flower is fully spent and the plant has moved into its final stage of growth. As a general rule, I let the crop move past the pretty phase, even if the veggies look a bit ugly. For many vegetables, the trick is to let them ripen beyond normal harvest. Beans turn old, tough, and brittle, while cucumbers swell huge and seedy. My favorite is watching tomatoes get truly ripe because that’s when the seeds inside are strongest. For flowers, I skip deadheading so the blooms can dry into dead, over-mature seed heads that are ready for seed saving. Practicing seed saving at this stage ensures the healthiest and most viable seeds for the next season.
Instead of tearing everything out of the garden at the end of summer, I leave some plants behind to finish naturally. This approach works well for both annual crops—sown in spring and matured in fall—and for biennial ones, which demand extra forethought and investment. With pepper, bean, pea, zinnia, sunflower, dill, broccoli, cosmos, squash, pumpkins, basil, cilantro, cucumber, lettuce, radish, spinach, love-in-a-mist, marigold, and poppy, seed saving can be done in one season. But biennial crops like onion, carrots, cabbage, beets, swiss chard, kale, hollyhocks, leeks, and celery need two years, surviving winter to set seed their second summer, making careful seed saving planning essential.
How to Save Seeds
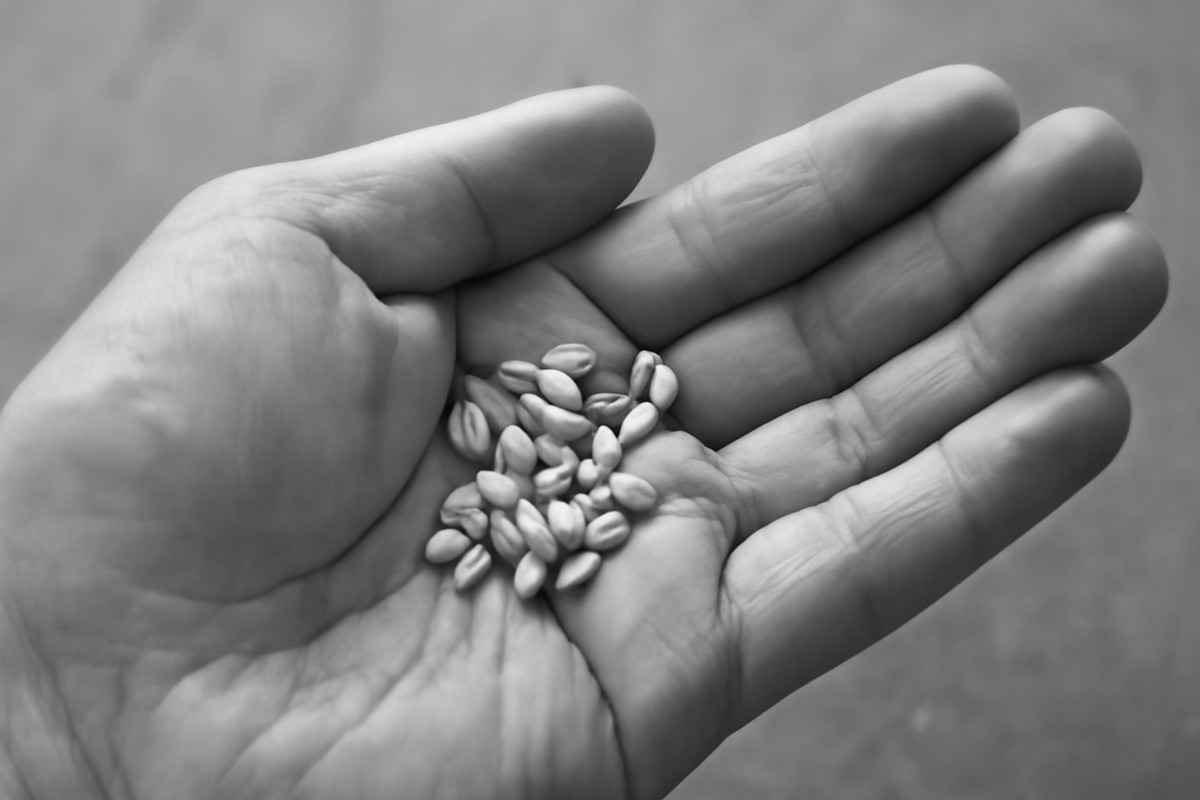
There are 2 main seed saving techniques to master, depending on the type of plant you’re working with—dry and wet. For flowers and many vegetables like beans, peas, onions, carrots, and lettuce, seed saving harvesting is quite simple and straightforward. I usually walk into the garden on a sunny day with paper lunch bags, then cut the flower head and place it in a well-ventilated spot for a few weeks until the seeds are fully dry. After that, I often thresh or winnow—rubbing, beating, or trampling the pods to separate the seeds from the chaff and excess material. With a bowl of seed and mixture, I pour back and forth, letting the wind carry off the lighter parts while the heavier seeds remain—voila! Practicing seed saving in this way ensures healthy, viable seeds for future planting.
The second method of seed saving is for fleshy fruits such as tomatoes, pumpkins, cucumbers, squash, and zucchini. These must ripen fully (sometimes to the size of a baseball bat) before you open them up and scoop out the mature seeds with a spoon. I always wash and sieve away the pulp, then soak the seeds in a jar of water for a few minutes. Viable seeds sink while duds float to the top. Since wet seeds often stick to surfaces, I spread them on parchment and shuffle them each day until dry. Some crops benefit from fermentation—by fermenting the seeds in warm water, nature helps reduce diseases being passed along. Just cover the jar to keep away fruit flies; I use a coffee filter and rubber band. After about 3 days, things turn a little funky and even bubbly, but once rinsed, the seeds are ready for seed saving and storing for the next season.
Storing and Using Your Saved Seeds
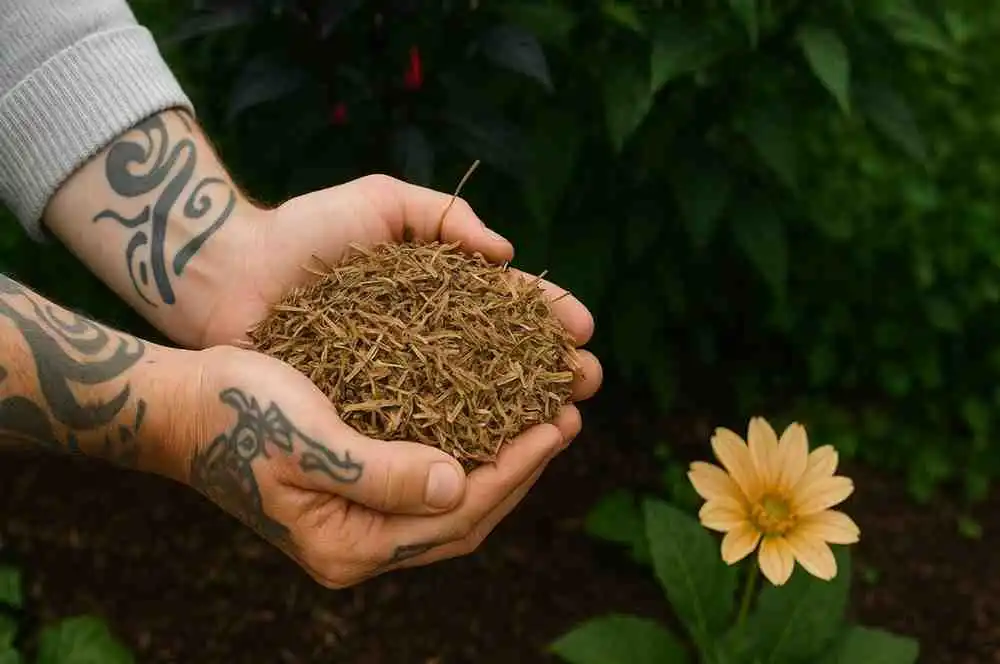
After your seeds are carefully cleaned, washed, threshed, and winnowed, the next step in seed saving is to store them properly. From my own garden, I’ve learned that the right storage makes all the difference. There are many options—you can tuck them into envelopes, simple seed packets, or even baby food jars, mason jars, or plastic bags. Just make sure they are fully dry before storing, because even a little dampness can be the biggest enemy. A cool, dark place extends the shelf life, and if you have space, the refrigerator or freezer works wonderfully. Always use an airtight container or bag inside the fridge, and don’t forget to label each variety, especially if you plan on sharing seeds as part of seed saving.
When the season shifts and spring arrives, it feels exciting to pull those little packets out and start planting again. For me, seed saving isn’t just about preserving seeds—it’s about creating a swap circle in the winter, where gardeners trade their best finds. Seeing friends exchange carefully kept seeds in jars or envelopes shows how something as small as a seed can connect us. Each one carries life, and with the right care, seed saving ensures that life is ready to grow again.


Leave a Reply