
“My Unplanned Start to Make Pottery at Home”
When I started learning pottery at home, my pottery from home story was not planned at all. I literally made it up as I went along, choosing my own route without knowing what was coming next. Along the way, I encountered many practical issues that I never anticipated. This beginner experience was full of mistakes, small wins, and constant trial, but each step became part of my learning process. That early phase shaped my home pottery journey, teaching me how easy it is to get confused when you make pottery at home without guidance.
Because of those early struggles, I decided it would be helpful to write a simple guide focused on how to make pottery at home in a realistic way. My goal with this guide writing approach is to help beginners avoid the same pitfalls I encountered myself. Instead of pretending everything works perfectly, I share what actually happens when you start pottery at home—where things crack, collapse, or fail—and how those moments quietly build skill and confidence over time.
Three Practical Paths to Making Pottery at Home
When I started learning pottery at home, my pottery from home story was not planned at all. I literally made it up as I went along, choosing my own route without knowing what was coming next. Along the way, I encountered many practical issues that I never anticipated. This beginner experience was full of mistakes, small wins, and constant trial, but each step became part of my learning process. That early phase shaped my home pottery journey, teaching me how easy it is to get confused when you start without guidance.
Because of those early struggles, I decided it would be helpful to write a simple guide focused on Three Practical Paths to Making Pottery at Home in a realistic way. My goal with this guide writing approach is to help beginners avoid the same pitfalls I encountered myself. Instead of pretending everything works perfectly, I share what actually happens when you start pottery at home—where things crack, collapse, or fail—and how those moments quietly build skill and confidence over time.
“Choosing the Right Clay Before You Begin to Make Pottery at Home”
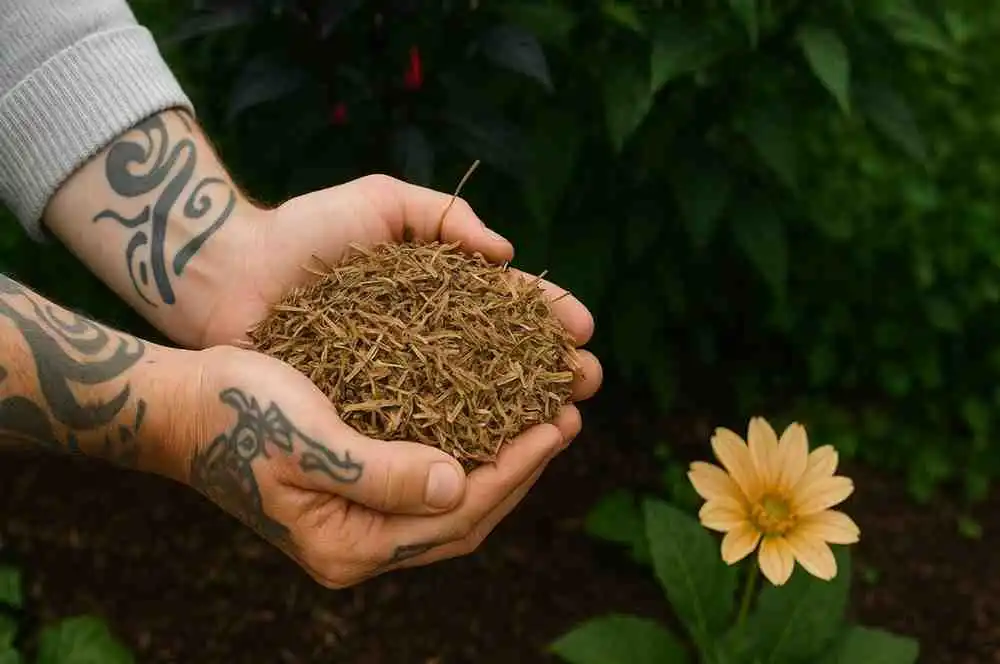
If you want to make pottery, the first thing you truly need is clay, and this step deserves more attention than most beginners give it. In my early days, I rushed this choice and learned the hard way that different types of clay behave very differently with different techniques. This article is built from that experience, because it’s a good idea to slow down and really think about what you are working with before shaping anything. Understanding clay is part of strong pottery basics, and it saves time, money, and frustration.
Before you even open a clay bag, there are a following 3 things worth careful preparation and planning. These beginner considerations include how you will shape the clay, where you will work, and how much time you can give to practice. When I began, I skipped this step and struggled more than necessary. Taking a moment to plan around the clay you choose makes learning smoother and helps your skills grow naturally, instead of feeling stuck at the start of your journey to make pottery at home.
“Choosing the Right Space to Work at Home to Make Pottery at Home”
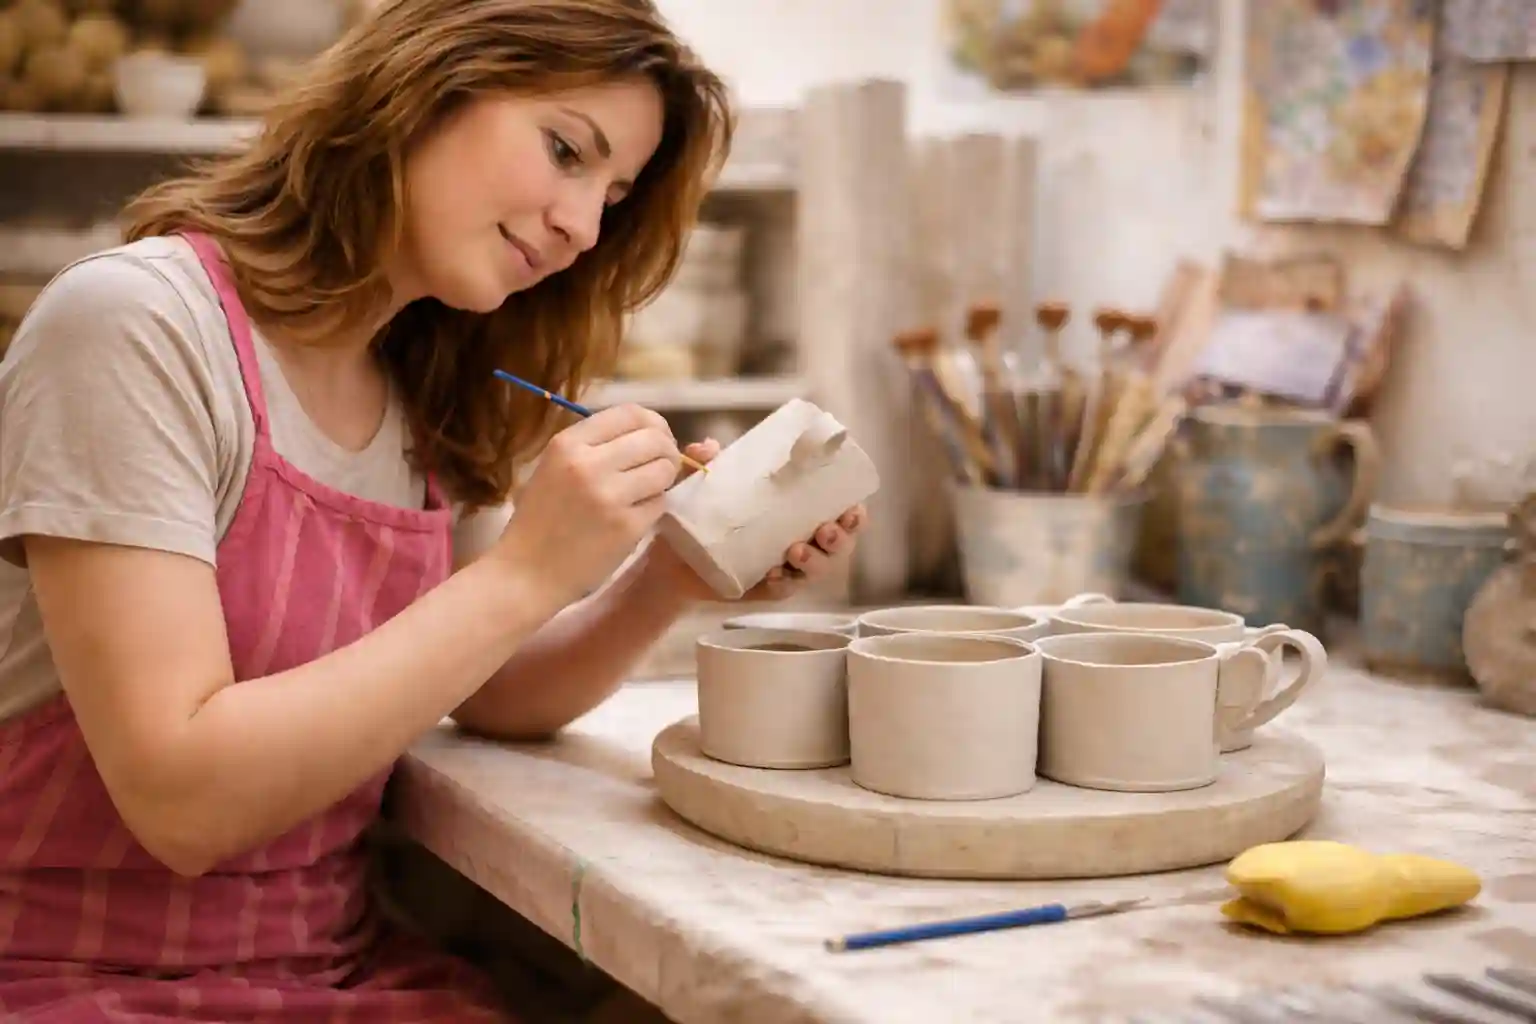
When deciding on a space in your home to make pottery at home, the best place is one where you can set up a stable work table and focus without distraction. A table near a window is often a good option because a good source of natural light helps you see what you are making clearly and well. From experience, being able to observe small changes in clay while you work makes a big difference in how confident you feel during making pottery.
I once lived on a boat, and it was often dark inside. Sometimes, I would make something and feel happy with it, only to take it outside into the harsh light of day and feel disappointed by the lack of detail. That taught me to find somewhere you can truly see what you are doing. Now I work by a long full-length window with plenty of light, so if something isn’t quite right, I know about it straight away.
“Creating a Dedicated Pottery Space That Actually Works to Make Pottery at Home”
To get serious about making pottery at home, you will eventually need to buy yourself a few tools, and those tools need a proper space along with the things you make. Having a dedicated space really does help, even if you feel lucky enough to have a home with lots of extra space. Some people use a shed or a garage and turn it into a full workspace, which is great if you have that option. But don’t worry if you don’t have a separate room.
When I began, I learned that a simple corner of my living space can suffice just as well. The key is to start and think of it as a place where you keep all your pottery stuff in one work area. Once your tools and materials live in one spot, pottery becomes part of your routine instead of a setup hassle every time. This small shift in how you use your space makes working at home feel intentional and surprisingly professional.
“Clearing Shelves for a Safer Pottery Setup to Make Pottery at Home”
Proper shelving is essential when you make pottery at home, even though you don’t need a lot of complicated equipment. What you truly need is a little space to store your items safely. Every time you make something, you will need to store it carefully between pottery sessions. I learned early on that planning storage is just as important as shaping clay, especially when pieces are still soft and fragile.
You also need space to let pottery dry out once it is done, and it’s best to have some shelving where your pottery stays out of the way. This helps avoid your work getting bumped or knocked around the home. After your space is sorted out, take a moment to consider how you are going to make your pottery. Having shelves ready keeps your process calm and protects the time and care you put into every piece
“Exploring the Main Ways to Make Pottery at Home”
There are 3 ways of making pottery, and understanding each can help you decide which one appeals to you the most. I’ll look at these techniques in turn, so you know exactly what you want to know. Using links to jump straight to the right section can save time, but it’s worth reading through the outline first. The three main ways to make pottery at home often involve a combination of skills, and even if you start off using one technique, you can try the others as you gain confidence. This flexibility helps you know the difference between methods and choose a starting point that fits your style.
For beginners, starting with a pottery wheel first can be both exciting and educational. Many potters mix techniques, using lessons from one method to enhance another. By understanding the skills involved and experimenting with different approaches, you can turn your home setup into a place where creativity flows. The key is to start making pottery with intention, learn from each step, and gradually combine techniques for a richer experience.
“Getting Started with a Potter’s Wheel to Make Pottery at Home”
Making pottery on a potter’s wheel, also known as wheel throwing or throwing on the wheel, is a rewarding way to create symmetrical pieces at home. Here’s a simple outline of what throwing pottery on the wheel involves. Think of it as a whistle-stop tour, a brief outline that gives you an idea of the motions and techniques involved. This approach lets you decide if it appeals to your style and is the way you want to make pottery at home.
From my own experience, learning to center clay and control the wheel is the foundation of all future projects. Even a small amount of practice helps you understand the rhythm of wheel throwing, and the confidence you gain encourages experimentation. Following a clear outline and taking each step slowly allows beginners to enjoy the process while gradually mastering the art of making pottery on a potter’s wheel.
“Mastering the Art of Throwing on the Wheel to Make Pottery at Home”
When you start with a piece of clay on the wheel head, the metal plate of the pottery wheel spins to help you form shapes. Most potter’s wheels are controlled with a foot pedal, so you can wet the clay and let it slip beneath your hands while you press the pedal. The key is to center your clay by proper positioning in the center of the wheel head, which sets the foundation to shape your clay into any item you want to make, whether it’s a bowl, cup, mug, plate, or vase. Learning different techniques helps you center and shape your clay efficiently.
Even for experienced potters, throwing pottery on a wheel requires a real knack and plenty of practice. It’s a motor skill, and your first efforts might not look great, but that’s normal. Once your piece is done, remove it from the wheel head and put it to one side, ideally on shelving, which is very handy for keeping your workspace organized. With patience and repeated effort, you can make pottery at home on a wheel intuitively, and each session strengthens your confidence and skill.
“Safely Removing Your Pot from the Wheel to Make Pottery at Home”
How you remove your pot from the wheel will depend on the kind of wheel you are using. Many potter’s wheels have bat pin holes, which are small holes in the wheel head that let you attach a wooden wheel bat. If your setup includes bat pins, you can simply lift the bat off the wheel with the pot intact. If not, you will need to carefully slice the pot off the wheel, after which it is transferred to a wooden wheel bat to dry.
Once your clay is on the bat, it should dry out until it reaches leather hard stage. Leather hard means the clay is partially dried and hardened, firm enough to be carved or trimmed, but still handled without losing its shape. This step is crucial because it allows you to refine your piece safely while keeping the shape intact, ensuring that you can make pottery at home smoothly and precisely.
“Trimming Your Pot for a Perfect Finish to Make Pottery at Home”
Once your pot reaches leather hard, it’s time to tidy up using a trimming tool. Trimming your pottery involves carefully placing it back on the wheel head and fixing it with a few blobs of soft clay. The trimming tool is then held up against the pottery as it spins, helping to remove excess clay and refine the shape. This step gives your piece a clean, professional finish while keeping the form balanced and stable.
After the pot is trimmed, you can smooth down any ridges left behind by the trimming tool. I find the easiest way to do this is using a rib tool, which glides over the surface and perfects the contours. Mastering this process not only improves the visual appeal but also ensures your pottery feels polished and ready for the next stages to make pottery at home.


Leave a Reply